Resolving Issues and FAQ
Trust Swiftly handles the identity verification on behalf of other services and companies. For questions about the verification process, please contact the company that originally directed you to the Trust Swiftly flow. They will be able to better assist you. For security and privacy purposes we are unable to review your documents to process them.
Identity Verification Best Practices and Common Tips
Identity verification is essential to ensure your security and trustworthiness in the digital world. Here's a simple guide to help you take a clear photo of your identity document (ID) for verification. Follow these best practices and tips to avoid common mistakes.
Best Practices for Taking a Photo of Your ID
- Clean Surface
- Place your ID on a flat, clean surface to prevent any reflections or background clutter.
- Good Lighting
- Use natural daylight or ample room lighting. Avoid direct light or shadows on the ID. A well-lit area helps prevent dark or unclear images.
- Focus and Clarity
- Ensure the camera lens is clean and focus on your ID by holding the camera steady. The text and image on the ID should be clear and readable.
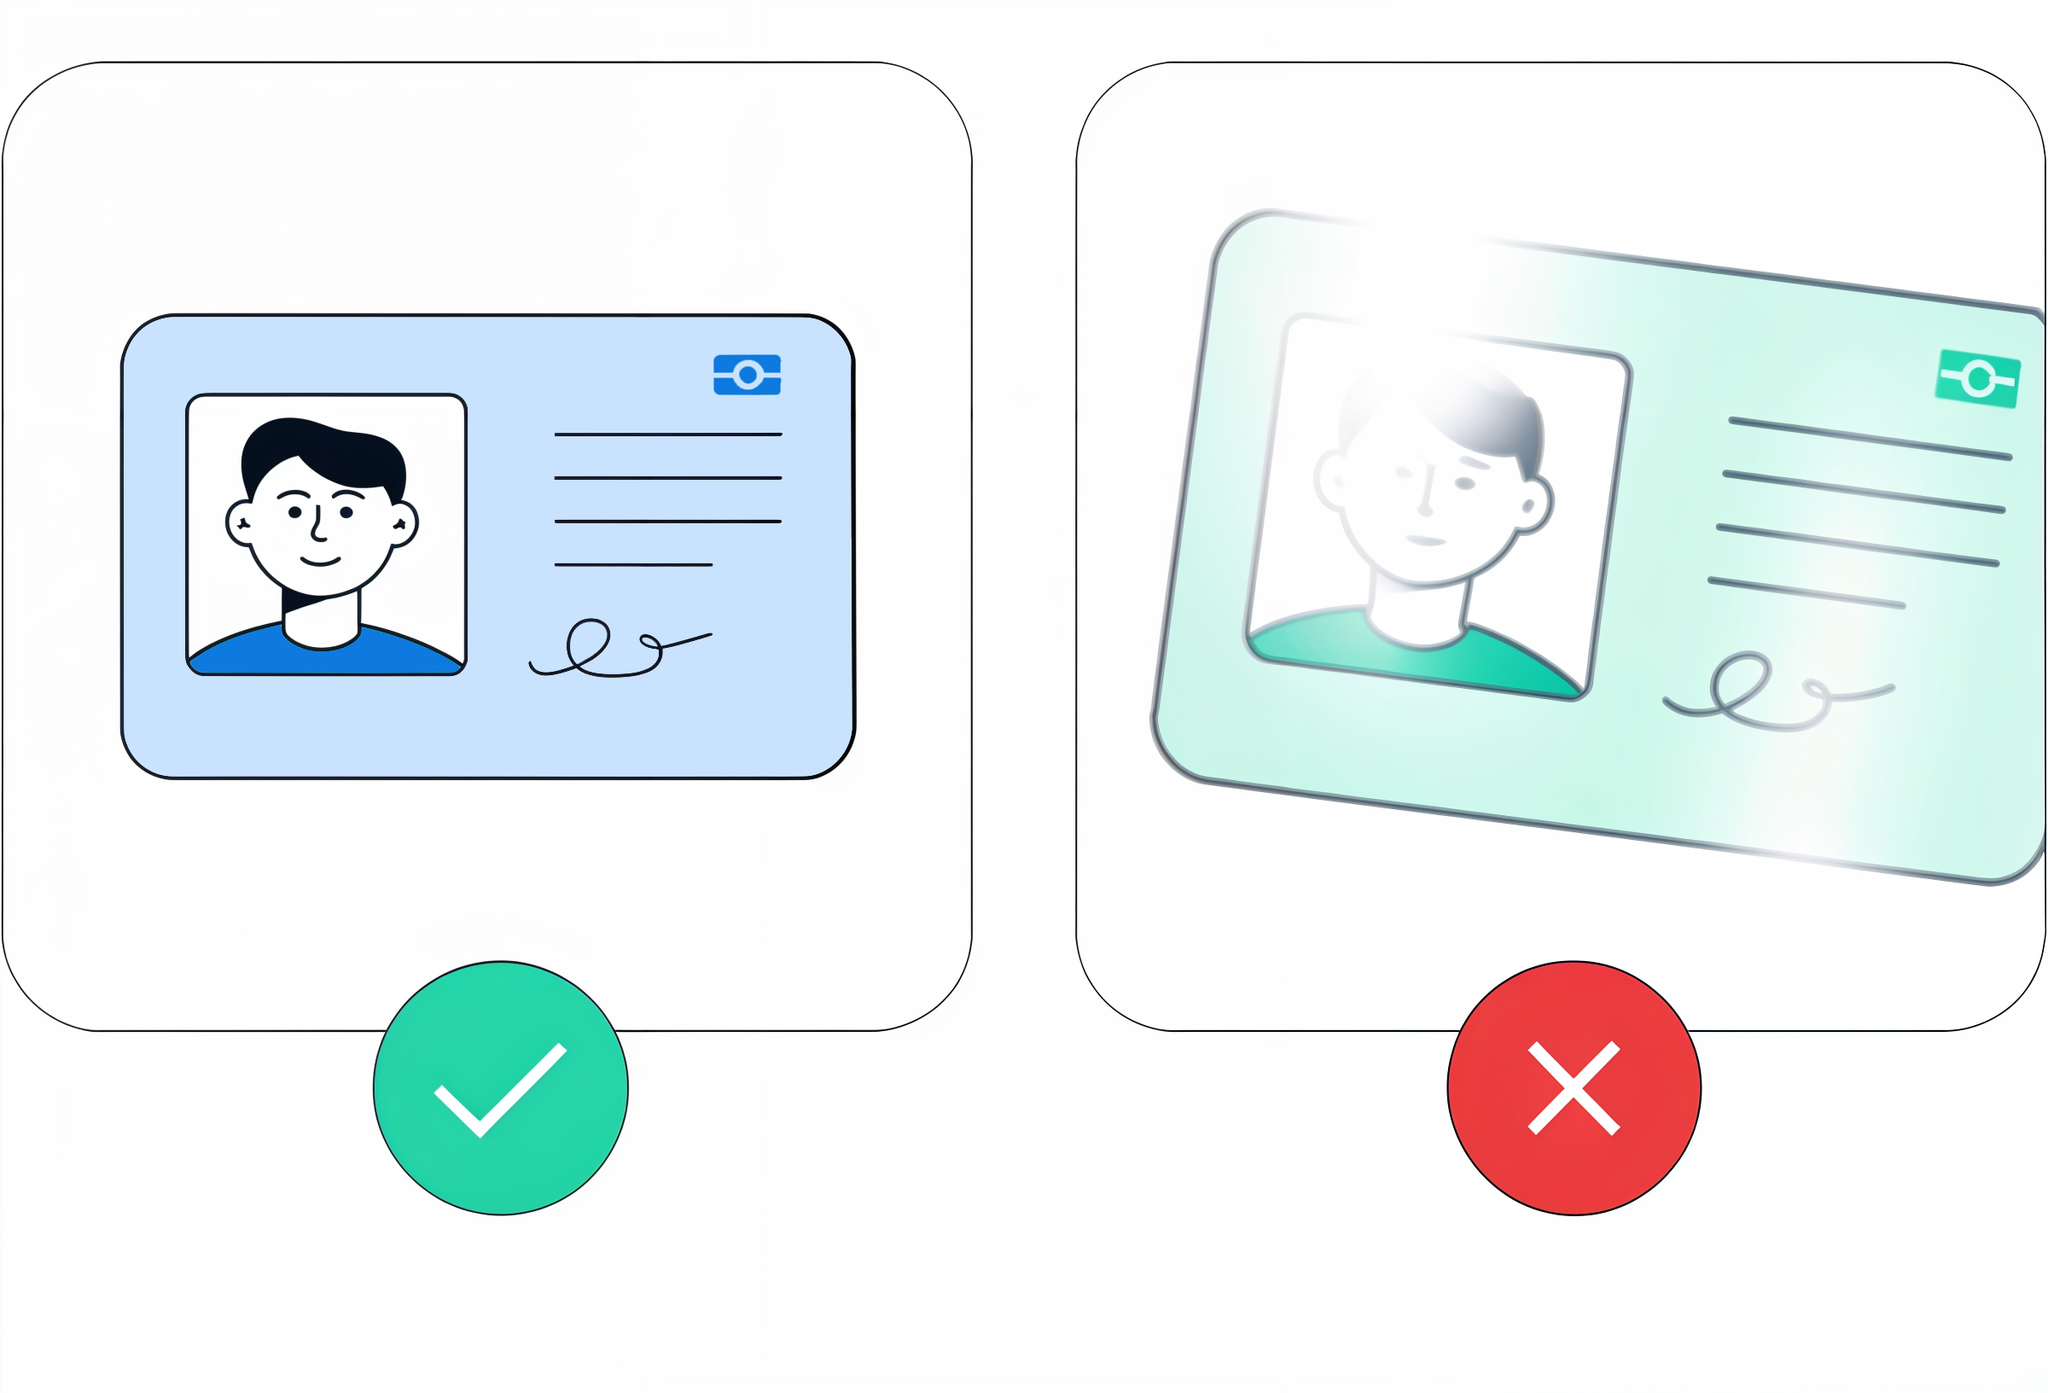
- Avoid Glare
- Tilt the ID slightly if necessary to remove glare from overhead lights. Ensure the surface of the ID is matte and doesn’t reflect light.
- Center the ID
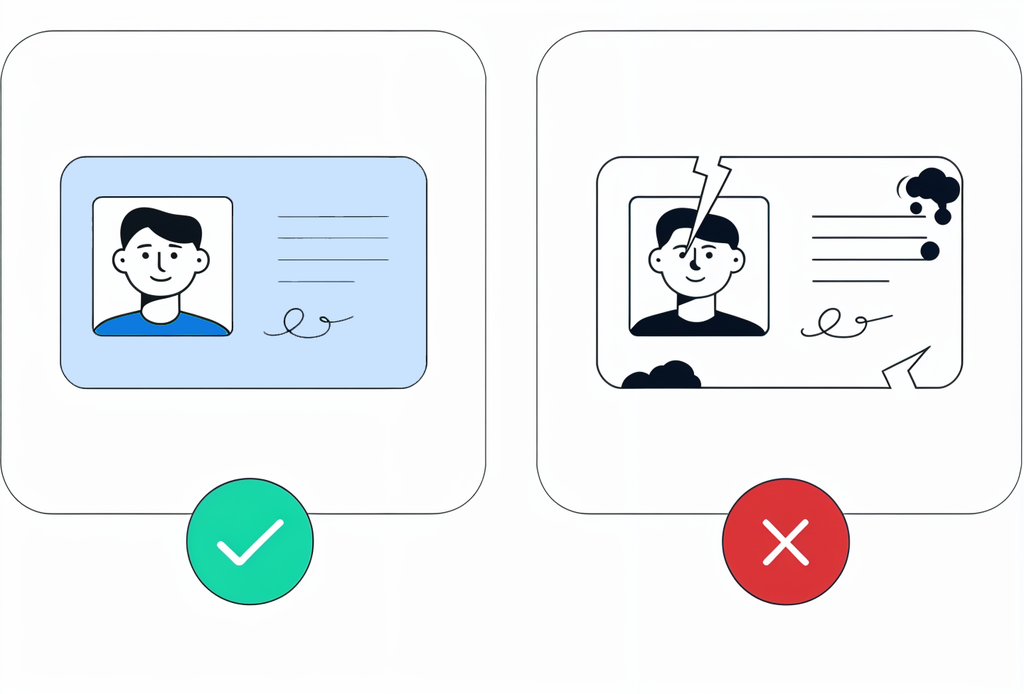
- Make sure the entire ID is in the frame and clearly visible. Position it centrally with clear edges and no corners cut off.
- No Obstructions
- Remove any objects or hands that might cover the ID. The ID should be entirely visible.
.png)
Common Mistakes and How to Fix Them
- Blurry Image
- Fix: Hold the camera steady or place it on a stable surface. Increase lighting if needed.
- Partial ID
- Fix: Re-align your ID so that it fits entirely within the frame of the photo.
- Glare/Reflection
- Fix: Adjust the angle slightly or change the light source to minimize reflections.
- Shadows/Overshadowing
- Fix: Use diffused lighting or try another spot with even lighting to eliminate shadows.
- Unreadable Text
- Fix: Make sure the image is focused and the resolution is high enough to read the text.
Frequently Asked Questions (FAQ)
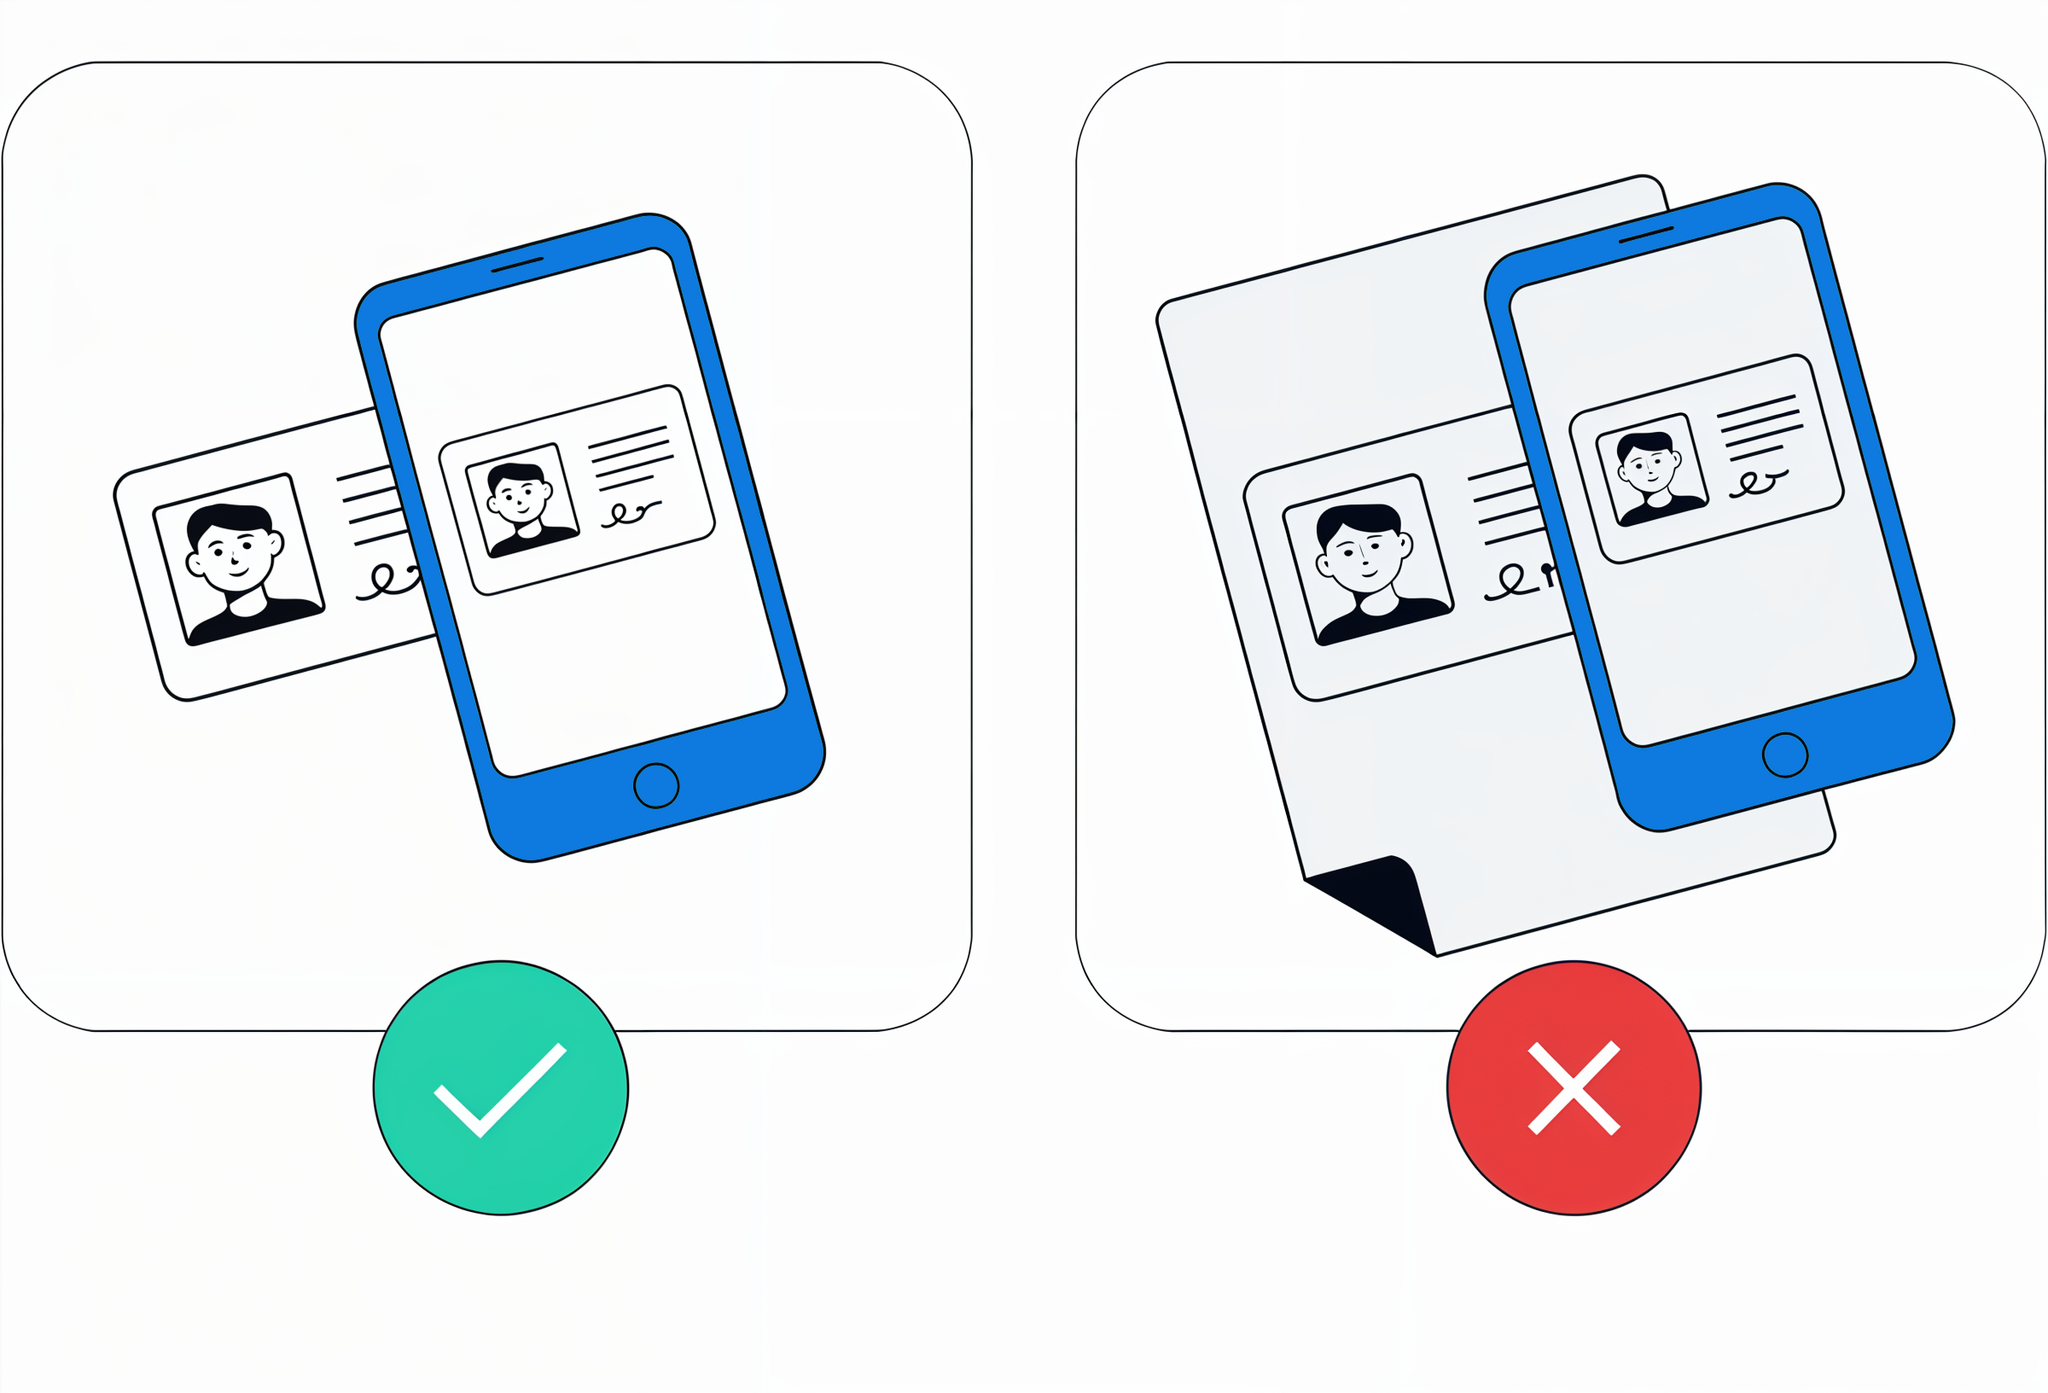
Q: What types of ID can I use for verification? A: Commonly accepted IDs include passports, driver’s licenses, and national identification cards. Please check with the verifying entity for any specific requirements.
Q: Can I use a scanned copy of my ID? A: It's best to use a photo directly from a camera rather than a scanned copy to ensure quality and authenticity.
Q: What should I do if my ID is not being accepted? A: Review the photo for clarity, focus, and completeness. If problems persist, check with support for any additional guidelines or try using a different ID.
Q: Is it safe to share my ID online? A: Ensure you are uploading your ID to a reputable and secure platform with privacy protections in place. Avoid sharing on unauthorized or suspicious websites.
By following these tips and best practices, you can help ensure that your identity verification process is smooth and successful. If you encounter any issues, refer back to this guide or reach out to the verification service's customer support for assistance.
Best Practices for Completing Identity Verification via Selfie
Taking a selfie for identity verification is a crucial step in confirming your identity online. It's important that your photo is clear and meets verification standards. Here are some simple best practices and tips to ensure your selfie passes identity verification checks smoothly.
Best Practices for Taking a Selfie
- Use Good Lighting
- Stand in a well-lit area, preferably in natural light. If indoors, ensure the light source is in front of you to avoid shadows on your face.
- Face Centered and Eyes Open
- Position your face in the center of the frame with your eyes open and looking straight at the camera. Avoid tilting your head.
- Neutral Expression
- Have a neutral expression, close your mouth, and avoid smiles or exaggerated facial expressions.
- Remove Accessories
- Take off hats, sunglasses, or other accessories that may cover your face. Prescription glasses are usually okay but watch for glare on the lenses.
- Background
- Use a plain background without patterns or objects that can distract from your face. Also, make sure no other people or pictures of faces are visible behind you.
- Camera Distance
- Hold the camera a little above arm's length or use a tripod. Ensure that your entire face and the top of your shoulders are in the frame.
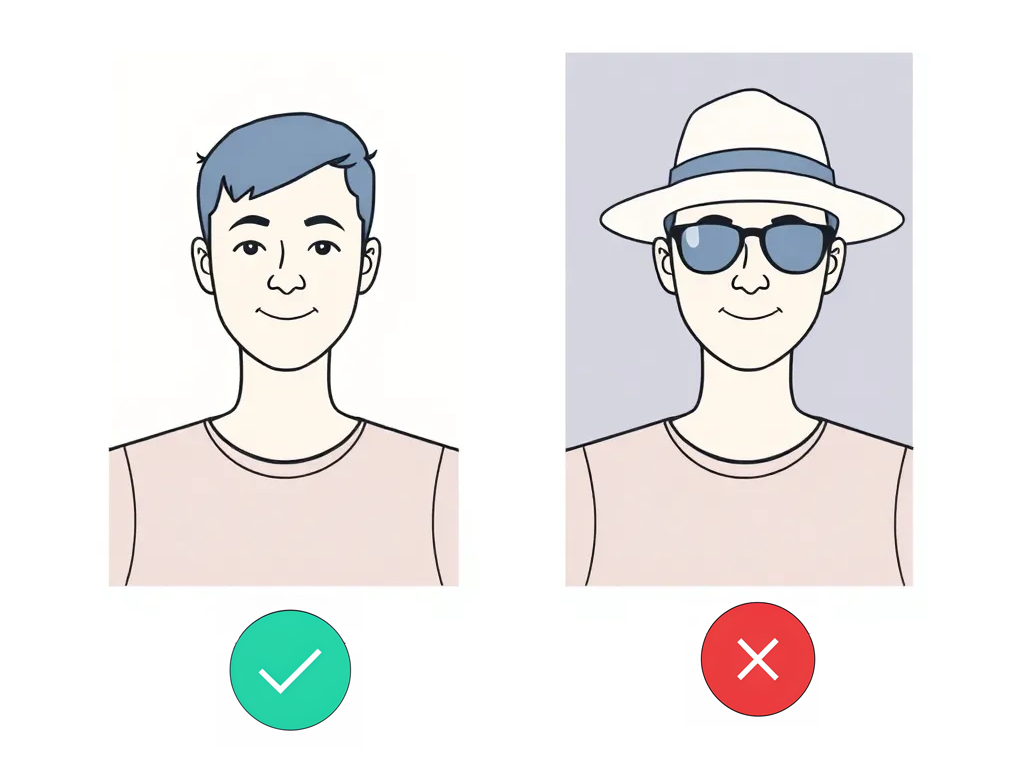
Make sure to remove any glasses or accessories and take a picture in natural lighting.
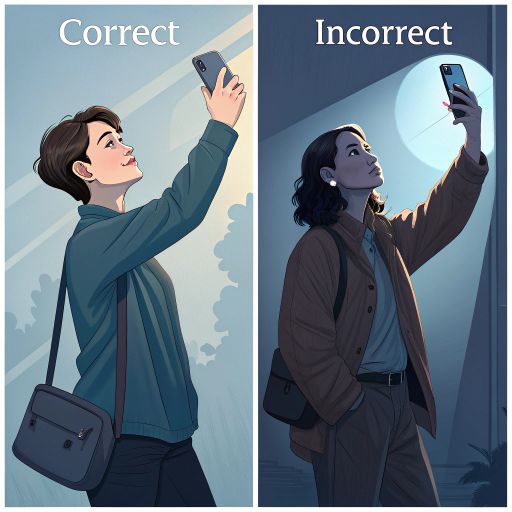
Common Mistakes and How to Fix Them
- Blurry Photo
- Fix: Stabilize your phone by using both hands or a tripod, and make sure the camera is focused before capturing the photo.
- Poor Lighting/Shadows
- Fix: Change your location to a well-lit area or adjust the lighting to ensure even light distribution on your face.
- Face Partly Cut Off
- Fix: Re-position the phone to include your entire face and shoulders within the frame.
- Expressions Not Neutral
- Fix: Relax your face and take a few deep breaths before snapping the photo, maintaining a neutral expression.
- Multiple Faces
- Fix: Take the selfie in a private setting and with a plain wall behind you to ensure no other faces are detected by our system.
- Glare on Glasses
- Fix: Angle your face or adjust the angle or position of the light so the glare is minimized.
Frequently Asked Questions (FAQ)
Q: Can I use a selfie taken previously?
A: It's best to take a new selfie at the time of verification to ensure that it meets current requirements and conditions.
Q: What should I do if my selfie is rejected?
A: Review the photo for quality issues like blurriness or poor lighting. Make improvements based on the common mistakes list and try again.
Q: Is it okay if someone else takes the photo instead of a selfie?
A: Most services require a selfie to ensure that the photo aligns accurately with your ID. Follow the service's guidelines.
Q: How can I ensure my data is secure when submitting it?
A: Only upload your selfie to trusted and verified platforms. Check for secure connections (look for "https") and ensure the platform adheres to privacy standards.
By following these guidelines, you can help ensure that your selfie meets the necessary standards for identity verification. If you run into any issues, you can refer to this guide or reach out to the verification service's customer support for assistance.