AWS S3
Businesses that require additional control of their data can use their own application accounts. This can be useful for compliance requirements or cost management. To bring your own application credentials you will need to set them on the Integration Keys page. Some applications require specific setup to securely integrate with Trust Swiftly. It will be your responsibility to manage the security and lifecycle of your data.
Step 1: Create an AWS S3 bucket and obtain its location
Amazon Simple Storage Service (S3) is designed to let you store and retrieve data from anywhere on the web. In S3, objects are stored into “buckets”. Those can be seen as virtual folders where objects can be written, read and deleted. If you do not already have an account you can signup for free at https://aws.amazon.com/free/ for a year.
Create an AWS S3 bucket.
First, create an S3 bucket. Use whatever bucket configuration that makes sense for your application; Trust Swiftly does not have any special bucket requirements. Remember to make note of the following, which you will need later:
- The bucket-name. This must be DNS compliant.
- The bucket-region. This is the AWS region where your S3 bucket is located.
Step 2: Create an IAM user and get its credentials
IAM is Amazon's product for controlling access to your AWS services. An IAM user is a person or service that can access your AWS resources.
Create an IAM user using the AWS Console. You should make note of the following:
Set Programmatic access as the “Access type” for your IAM user


After that, select Create policy, pick the JSON editor and create a policy document with write permissions. You can use the following JSON snippet as a template for the policy document. Note:
- Replace my_bucket_name at the bottom of the snippet with the actual bucket-name, as obtained in step 1 above.
- Replace the string /folder/for/storage/ with the specific path where you want Trust Swiftly to store your recordings within your bucket (note that / is a valid path). Don't forget the * wildcard at the end.
{ "Version": "2012-10-17", "Statement": [ { "Sid": "UploadUserDenyEverything", "Effect": "Deny", "NotAction": "*", "Resource": "*" }, { "Sid": "UploadUserAllowPutObject", "Effect": "Allow", "Action": [ "s3:PutObject" ], "Resource": [ "arn:aws:s3:::my_bucket_name/folder/for/storage/*" ] } ] }
Now, come back to the original browser tab and press the Refresh button to see the policy you created. You can select it and complete the IAM user creation.
Get the IAM Access Key ID, Secret Access Key, and Path
- Once the IAM user is created, Amazon provides you its credentials. They include an Access Key ID and a Secret Access Key. Store them in a secure location for later use.
- You must also note down the path (e.g. /folder/for/storage/) where you provide Trust Swiftly write permissions.
Step 3: Configure Trust Swiftly with the AWS Credentials you created
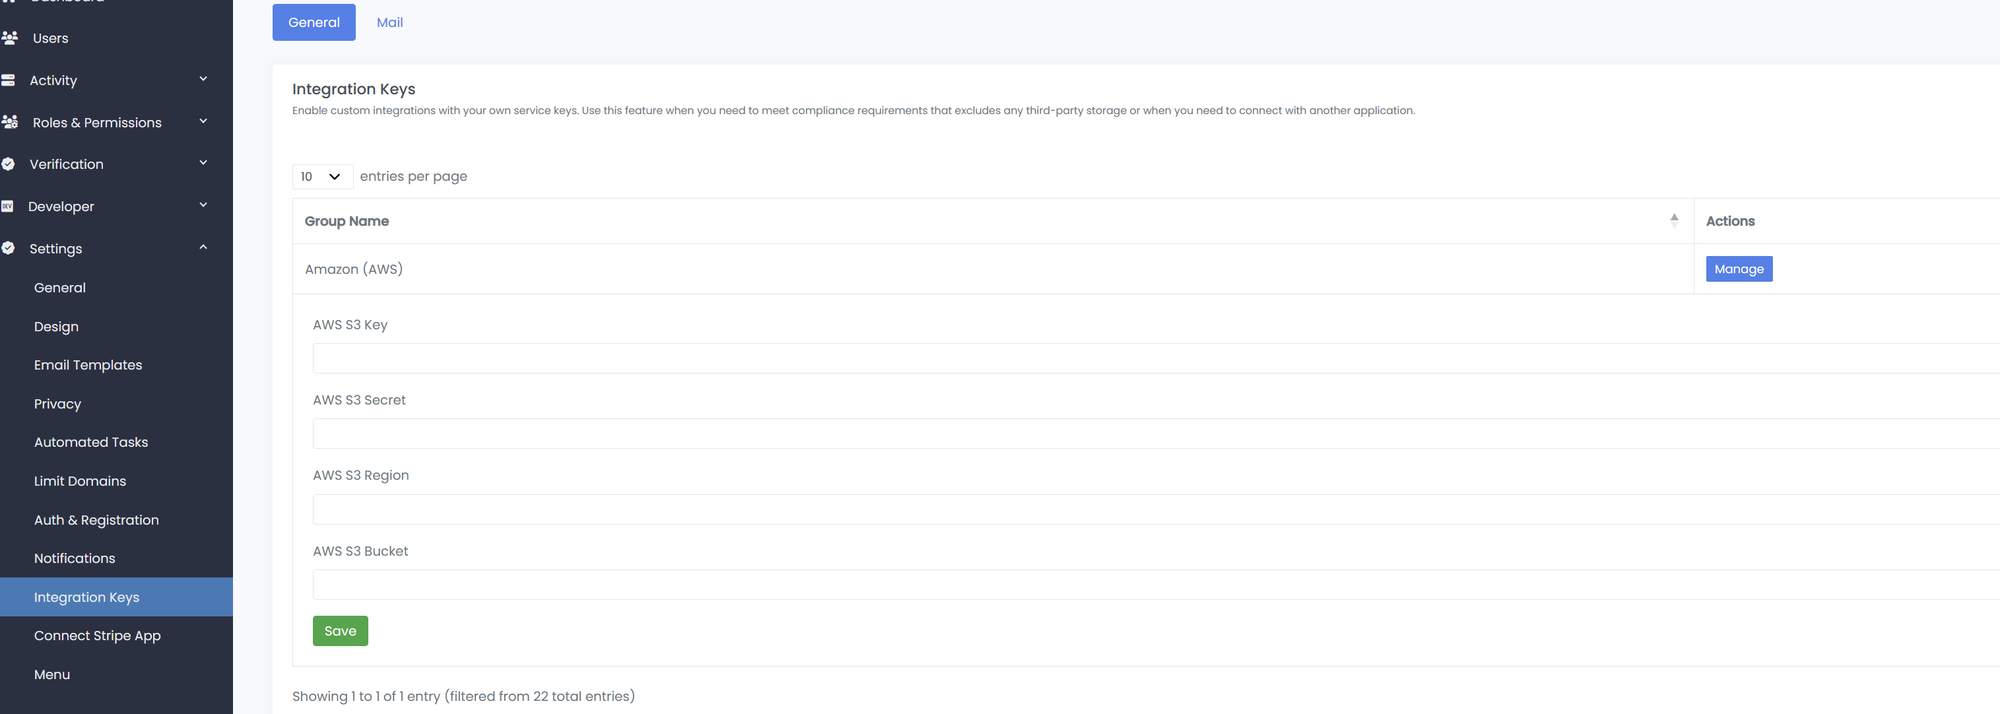
Next, you need to add a new AWS Credential to your Trust Swiftly account. For this, go to the How to Customize Integration Keys and enter the new AWS S3 Credentials. Verify the keys are accurate as you will not be able to see them again. To update you must re-enter all the credentials.
